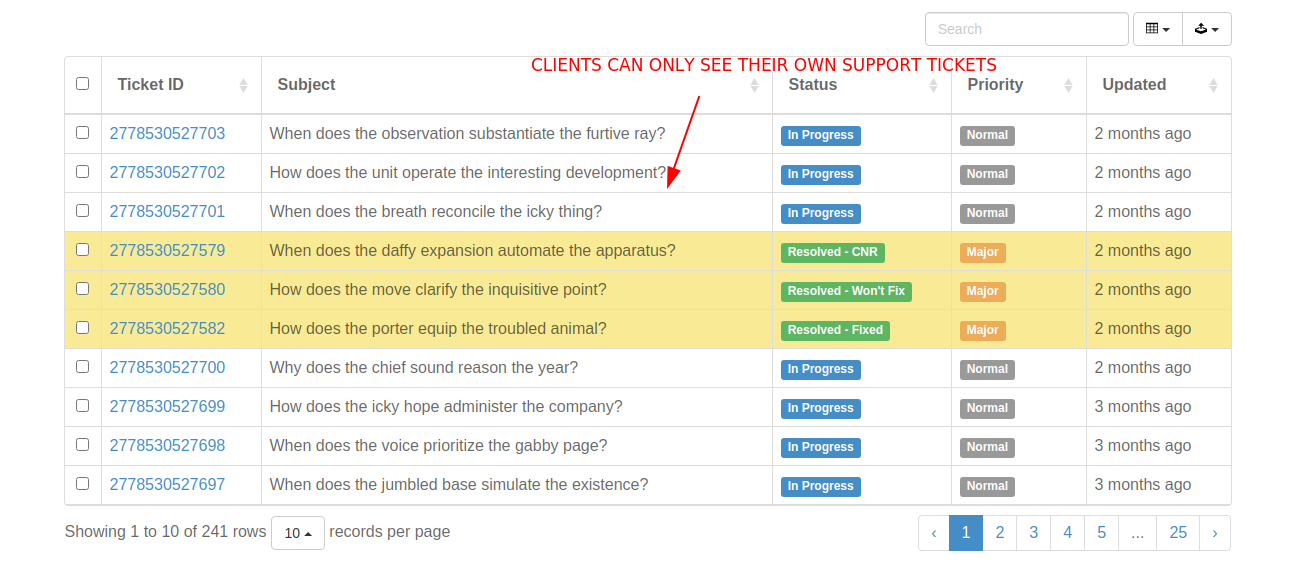
A support ticket client area is a page that your customers see when they login. Using a support ticket client area, customers can check the status of their tickets or submit new ones. All client WordPress users must belong to the subscriber role. Clients can only see their own tickets once they login.
WP Ticket WordPress plugin allows you to create a client area in two ways.
A shortcode is a piece of string that is recognized by WordPress as an indicator to enable functionality on your site. WP Ticket support and helpdesk system comes with an extensive set of shortcodes.
Using shortcodes, you can create a support ticket client area on the frontend of your site. If you don't allow your users to log in to WordPress Dashboard for any reason or would like to customize how the client area looks and feels, we recommend using this method.
[ticket_list] shortcode in the pageYou can also visit this demo page to see an example of this shortcode.
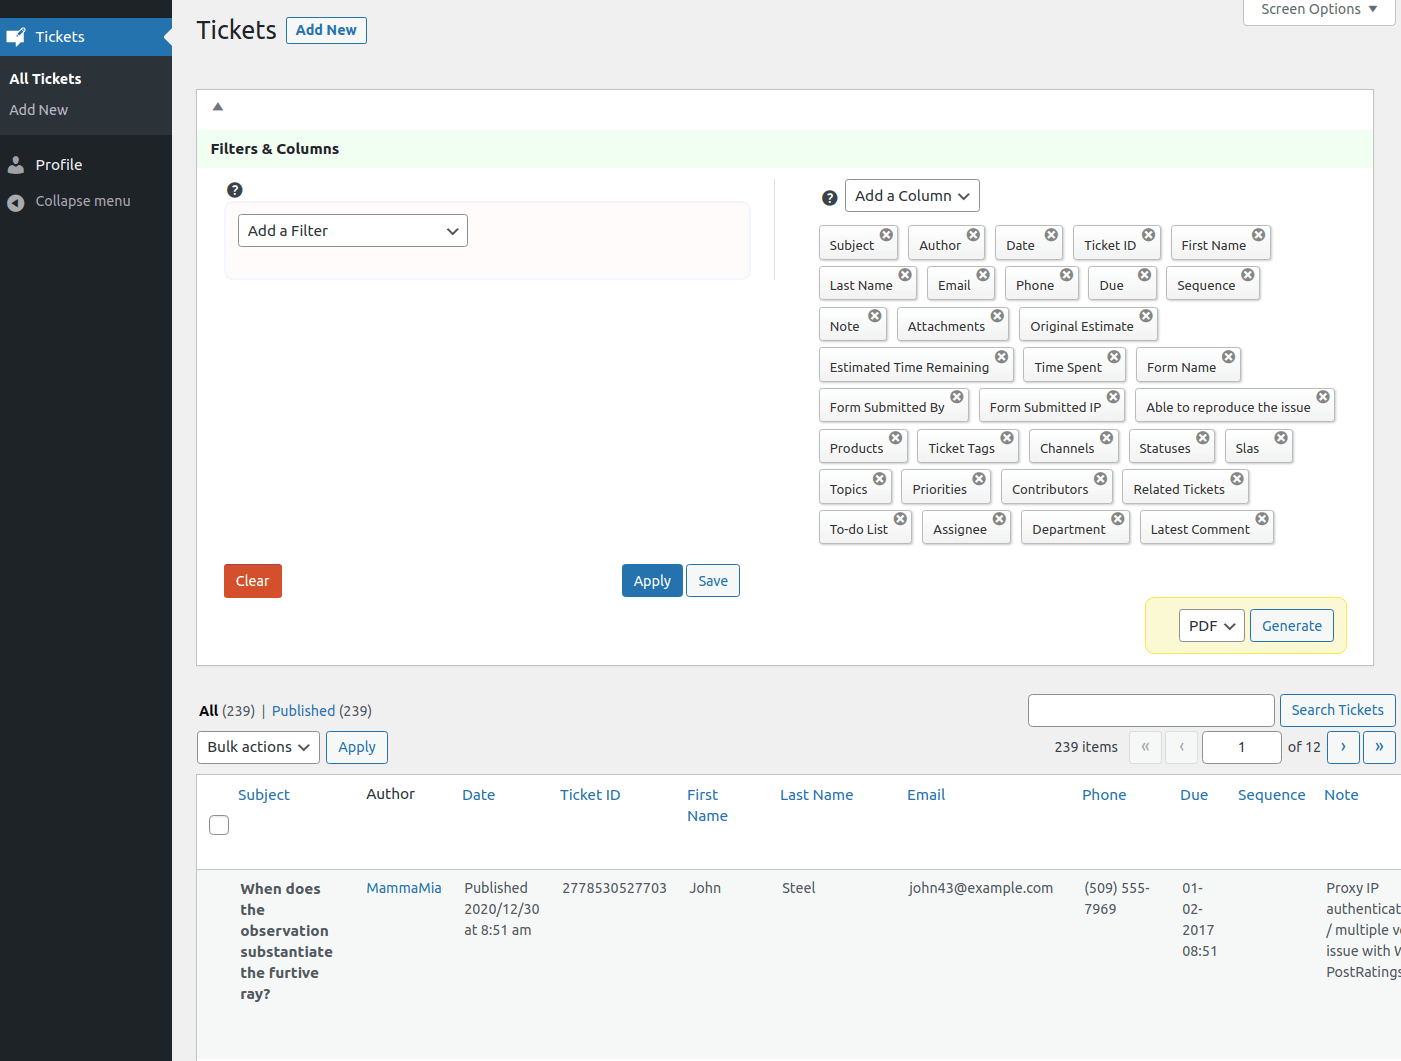
This method is enabled by default. As mentioned above, all customers accessing the client area must belong to "subscriber" user role. After logging in, Customers see their own support tickets and manage their support tickets.
To learn more about and watch a video of creating a client area using WP Ticket, visit this page.
