WP Ticket WordPress plugin allows to set up a private, public, hybrid support ticket system. By default, support ticket authors, support managers, and agents can view submitted support tickets. In addition, all visitors must belong to the subscriber user role to submit a support ticket.
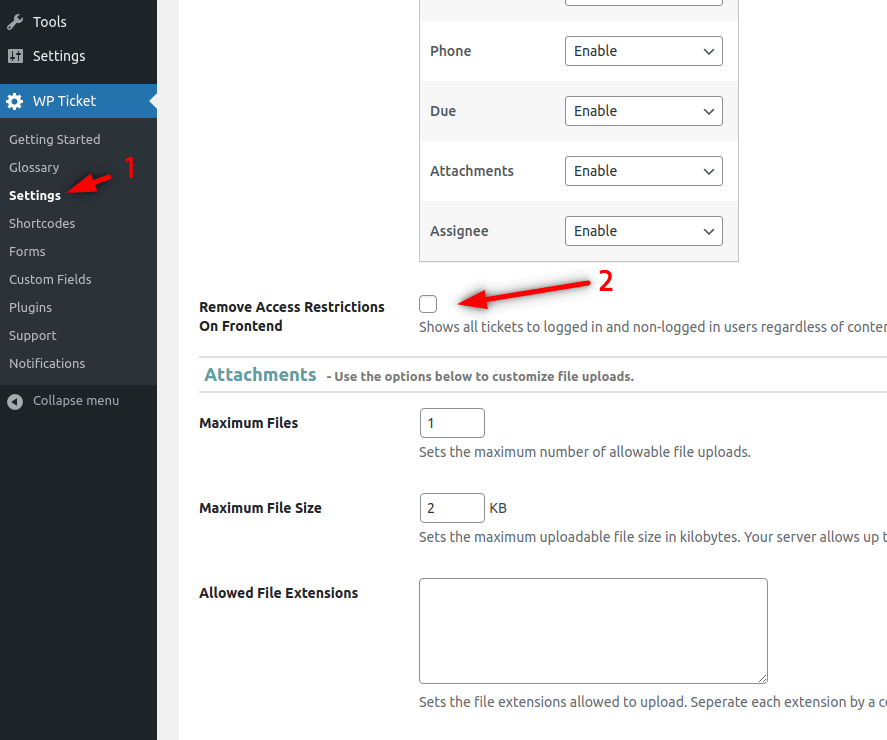
If you want all of your site visitors to submit, see and comment on all support tickets submitted by anyone, you can open WP Ticket support ticket system to the public. When you change the default system mode, please consider the privacy concerns of ticket authors. Let them know that their support ticket will be accessible by anyone so they cannot share private information such as login passwords, id numbers, etc on their support tickets.
In addition, the public tickets can be indexed by search engines such as Google or Bing. So anyone on the internet searching for a specific subject may end up a support ticket matching their search.
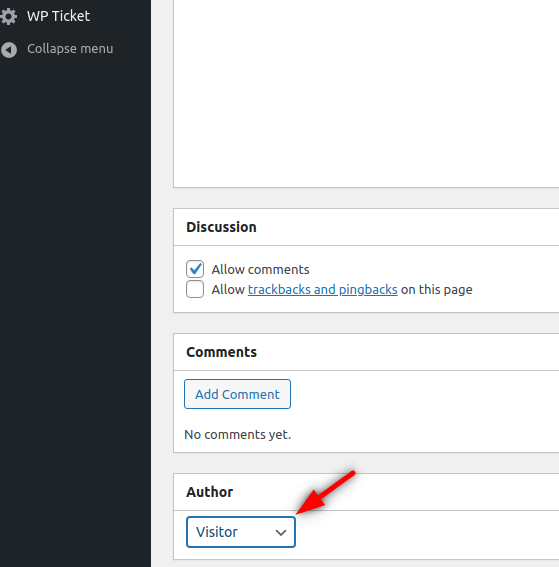
You can make tickets private or publicly accessible by changing the author of a ticket. If a customer logs in and creates a ticket, that ticket can not be seen by other customers. If you change the author of a ticket to Visitor, then the ticket can be seen by anyone visiting that page.
By making WP Ticket system accessible to the public, you allow everyone visiting your site to submit, view their own and existing support tickets.